


 Basic: Definition, Purpose, and How It Works 8")
 Basic: Definition, Purpose, and How It Works 10")

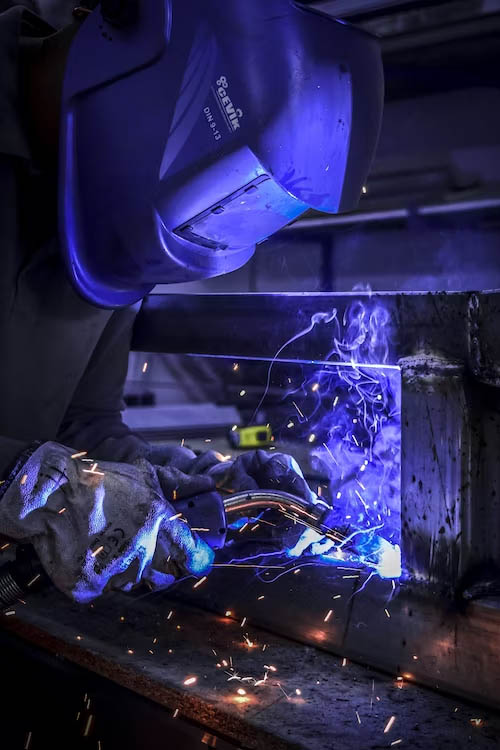
In electrical work, welding machine is one of the common equipment. For three-phase welding machine how to access the 220V power supply, not only is the electrical staff need to master the basic skills, but also to protect the normal operation of equipment and electrical safety is an important part. This article will detail the three-phase welder access to 220V power supply steps and precautions.
3PH welding machine to 220V power supply
Welding Town
1. Understanding three-phase and single-phase electricity
Before we look at how to connect a three-phase welder to 220V power, we first need to understand the basic concept of three-phase versus single-phase power. Three-phase electricity refers to three sources of AC power with a phase difference of 120 degrees between them. Single-phase electricity, on the other hand, has only one AC power source. Usually our home electricity is 220V single-phase electricity.
2.I Selecting the correct wiring
There are various wiring methods for three-phase welding machines, such as Y-connection and Δ-connection. When connecting to 220V power supply, you need to choose the wiring method suitable for single-phase power supply. Usually, this is determined by the specific model and specifications of the welder. When selecting a wiring method, be sure to refer to the user’s manual of the welding machine to ensure correctness.
3.Wiring Procedure
1.First, make sure the power is off and use the proper tools (e.g., screwdriver, wire strippers) for wiring.
2.Connect the power cord of the welding machine to a 220V power outlet according to the selected wiring method. Generally, the power cord for the welder is a three- or four-core cable, one of which is the ground wire and the rest are fire wires.
3.Connect the fire wire of the power cord to the L (fire) terminal of the single-phase power supply and the ground wire to the N (zero) terminal. The ground wire must be connected for safety.
4.After completing the wiring, check that the wiring is secure and not loose.

4. Security considerations
1.During wiring, be sure to turn off the power to prevent electric shock.
2.Use proper tools and do not use damaged tools to avoid accidents.
3. Strictly follow the user’s manual of the welding machine and do not change the wiring at will.
4.Once the wiring is complete, be sure to double-check to make sure that all wiring is secure and reliable, with no exposed wires or loose connectors.
5. Testing and validation
After completing the wiring, do not rush into use. First, turn on the power supply and observe whether the welding machine starts normally and whether there are any abnormalities (such as strange noise, odor, smoke, etc.). Secondly, use a voltmeter to test the working voltage of the welding machine to ensure that it works within the rated voltage range. Finally, carry out test welding to verify whether the working condition of the welding machine is good.
6. Troubleshooting and handling
If you find that the welder is not working properly during testing, don’t panic. First, turn off the power and then perform troubleshooting. Common causes of failure include wiring errors, power supply problems, and internal failure of the electric welder. Check them one by one against the user’s manual, and if you still can’t solve the problem, it is recommended to contact a professional electrician or electric welder manufacturer for overhaul.
By following the steps above, you should have successfully connected your three-phase welder to 220V power and tested and verified it. To ensure safety and efficiency, be sure to follow the steps outlined in this article and pay attention to the precautions in the safety guide. Remember, electrical work is hazardous and both proper operation and awareness of safety are essential. We hope you found this article helpful!