


MIG welding is often regarded as the most straightforward form of welding once it has been properly set up, especially for those who are still in the learning phase. This is due to the relatively simple process of MIG welding.
All you need to do is press the trigger and keep the welding gun steady, isn’t that right?
021208.com
Step 1: Clean and Prepare Your Metal
When it comes to metal preparation in MIG welding, there is little room for forgiveness. MIG welding generally requires clean metal and cannot effectively handle contaminants. While it may be able to burn through some impurities, most of these substances end up getting trapped within the weld itself.
That is why it is crucial to thoroughly clean the surface by removing any paint, oil, rust (although minor surface rust may be acceptable), or any other impurities. This meticulous cleaning process will yield the best results in MIG welding.
If your intention is to weld together pieces of metal that have been hand-cut, it is essential to ensure that all the edges are smooth and properly dressed. When using tools like a plasma cutter or oxy-acetylene torch to cut the metal, it is common for the cut edges to be uneven or rough. Therefore, it is highly recommended to smoothen and dress those edges before proceeding with the welding process.
Grinding and dressing the edges is highly advisable, particularly when working with thin sheet metals. This practice is essential because frayed edges can increase the likelihood of burning through the metal while welding, mainly due to the presence of gaps in the joint. By smoothing and dressing the edges, you minimize these gaps, resulting in better weld quality and reduced chances of burn-through.
Step 2: Hold the Torch with Both Hands
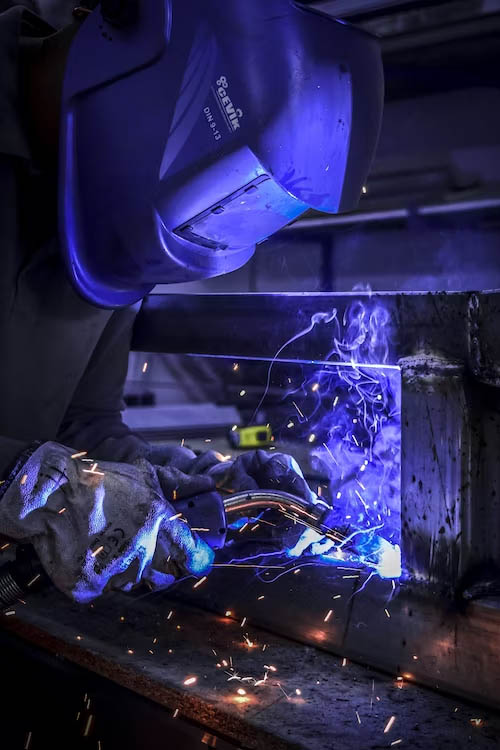
You are correct that it is possible to MIG weld with one hand by holding down the trigger to run a bead along the joint. However, the quality of a one-handed weld may not be as good compared to using both hands. Welding with both hands provides better control, stability, and precision, resulting in more consistent and higher-quality welds. While it is technically feasible to weld with one hand, using both hands is generally recommended for achieving optimal welding results.
Regardless of your welding experience or skill level, utilizing two hands will always yield better results than using just one hand. When MIG welding, one hand is responsible for holding the torch body and operating the trigger, while the other hand provides support by resting under the torch neck. This two-handed approach ensures enhanced stability, control, and maneuverability during the welding process. By utilizing both hands, you can achieve greater precision and produce superior welds compared to relying on a single hand.

By employing a stabilizing hand under the torch neck, you can avoid unnecessary wobbling up and down while welding. This technique helps prevent the gun from being pulled too far or pushed in too close, ensuring that your positioning remains consistent throughout the weld. Additionally, having a second hand supporting the torch helps distribute its weight, reducing fatigue during extended welding sessions.
Regarding the proximity of your hand to the weld pool, there’s no need to worry. Most MIG gloves are designed to be thick and heavy-duty, providing adequate protection. While your hands may become warm and sweaty while wearing these gloves, they should not experience any burns from the weld pool. It is important to prioritize safety by using proper protective gear, including gloves, to shield your hands from potential heat and sparks during the welding process.