Step 3: Push or Pull?
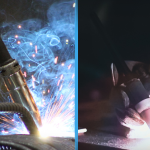
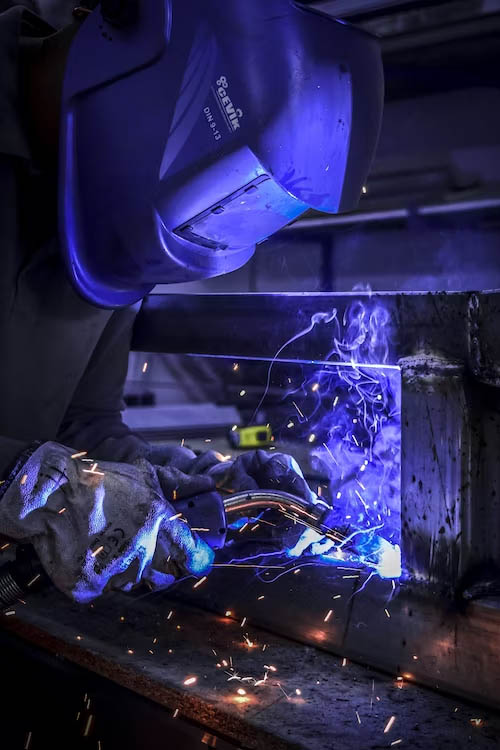
When it comes to MIG welding, you have the option to either push or pull the welding gun along the joint. Both techniques can be effective, but they offer different advantages depending on the circumstances.
Pushing the gun involves moving it away from the direction of the weld. This method is generally preferred when working with thinner materials as it helps prevent burn-through. It also offers better visibility of the weld pool.
On the other hand, pulling the gun involves moving it toward the direction of the weld. This technique is often chosen for thicker materials and when dealing with out-of-position welding. It provides better control and allows for deeper penetration.
The choice between pushing and pulling ultimately depends on the specific welding situation and personal preference. It is recommended to practice both techniques and determine which one suits your needs and yields the best results for the given application.
Step 4: Earth clamp
One crucial aspect of your welding setup that is sometimes overlooked is the earth/ground clamp. This component plays a vital role because, without it, welding would not be possible. When the earth clamp is connected to a metal workbench or the workpiece itself, it completes the electrical circuit, allowing the welding arc to ignite.
Having a good ground connection is essential for maintaining a stable arc. If the ground clamp or the surface it is attached to is painted, rusted, or dirty, it can adversely affect the grounding. This can result in an unstable arc characterized by sputtering and popping noises.
To ensure optimal welding performance, it is important to position the earth clamp in close proximity to the welding area and ensure that it is clean and securely attached. Taking these measures significantly improves the quality and stability of your welds.


